
DIY Furniture Sliders: Make Moving Heavy Items Easier
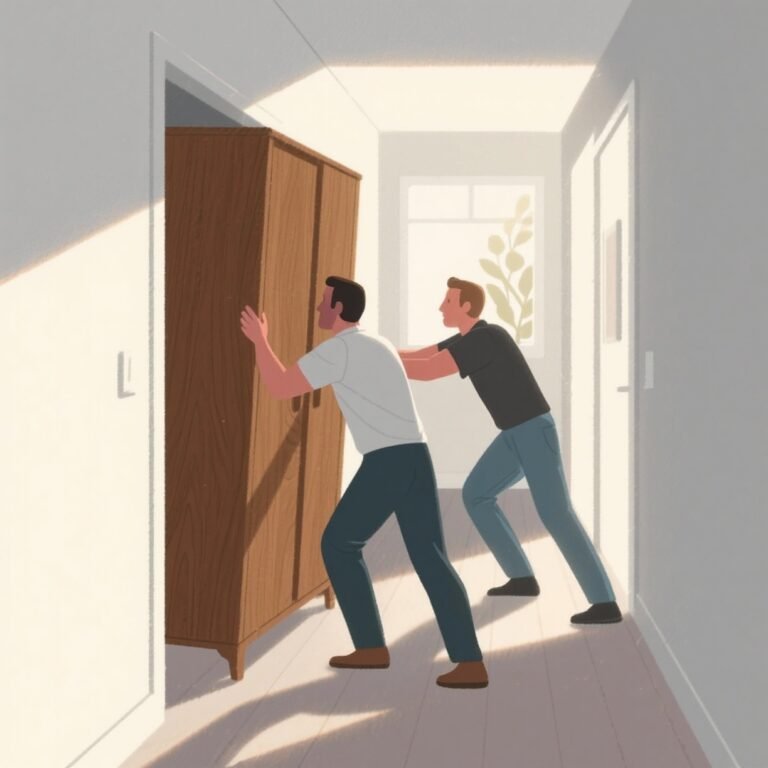
Ever attempted to move a hefty couch or an overloaded dresser, only to end up scuffing your floors or pulling a muscle? You’re not alone. Moving bulky furniture can be frustrating—and even dangerous—without the right tools.
But here’s the secret: with a few household materials and a little creativity, you can craft DIY furniture sliders that make rearranging a room feel effortless.
Say goodbye to scratched floors and back pain. Ready to change how you move furniture forever? Let’s slide right into it.
What Are Furniture Sliders?
Furniture sliders are small, flat devices designed to reduce friction between heavy furniture and flooring. The purpose? To allow heavy items to glide smoothly without causing damage to your floor or straining your body.
They work by creating a slick barrier between the furniture base and the floor surface. When placed correctly, sliders let you push or pull heavy furniture with minimal resistance. Commercial sliders often feature a hard plastic or Teflon base with a foam or rubber top layer to grip the furniture.
Homemade alternatives can work just as effectively—with the added bonus of using what you already have on hand. From old towels to plastic lids, there’s a DIY slider for every floor type and budget.
Materials You Can Use for Homemade Furniture Sliders
Old Towels or Washcloths
Thick, soft towels work well for sliding items across hardwood, tile, or laminate floors. Cut them into manageable squares, and you’ve got instant furniture sliders.
Felt Pads or Carpet Scraps
Felt and carpet protect surfaces while offering a touch of grip. Great for both hard floors and low-pile carpet situations.
Plastic Lids or Frisbees
Recycling plastic container lids or old Frisbees is ideal for carpeted floors. These materials glide smoothly over soft surfaces and hold up well under weight.
Foam Sheets or Sponges
Foam sheets compress to absorb weight and friction. Sponges are also effective, but choose dense ones so they don’t collapse under heavy furniture.
Teflon Baking Sheets or Flexible Cutting Mats
These smooth kitchen tools make excellent DIY sliders for tile or hardwood floors. Just make sure they’re clean and free of grease!
Socks or Wool Fabric
Old wool socks or scraps of dense fabric can double as sliders in a pinch. They glide well on hard surfaces and add padding to protect both floors and furniture legs.
When to Use Each Material
Use soft, absorbent materials like felt or towels on hardwood and tile to reduce scratches. For carpets, opt for rigid surfaces such as plastic or Frisbees, which move smoothly without getting caught in the fibers.
How to Make DIY Furniture Sliders – Step-by-Step
Step 1: Choose the Right Material
Match the material to the flooring. Wood or tile floors? Use towels or felt. Carpet? Opt for plastic or firm foam. The goal is ease of movement without harming the surface.
Step 2: Create for Hard Floors
Cut fabric or felt into squares slightly larger than the furniture legs. Place them underneath, fabric side down. If needed, secure with duct tape or an elastic band to avoid slipping during movement.
Step 3: Create for Carpeted Floors
Use plastic lids, coated baking sheets, or cutting boards. Place them directly under each furniture leg with the smooth side facing the carpet. The rigid surface keeps bulky items from digging into the carpet fibers.
Step 4: Secure to Furniture
For heavy lifts, use non-permanent adhesive pads or rubber bands to hold sliders in place. Just make sure nothing is left sticky to avoid residue on furniture bases.
Safety Tips for Using DIY Sliders
Before you start, clear your path. Any debris, toys, or small objects can trip you up in the middle of a big move. Never rush.
Use proper lifting techniques: bend at the knees and lift with your legs. Don’t drag furniture if it seems stuck—pause and reposition your sliders.
Skip using DIY sliders on specialty surfaces like delicate tile mosaics or uneven stone floors. In those cases, wheels or professional help may be safer choices.
To protect your furniture, always ensure padding is thick enough to prevent bumps or scrapes during movement.
Pros and Cons of Homemade vs. Commercial Sliders
Cost Savings
DIY sliders cost next to nothing. You’re using items already lying around the house, which is perfect if you’re on a budget.
Customizability
Make your sliders exactly the size and shape you need. Oversized couch? Create oversized pads.
Durability and Effectiveness
Commercial models are built to last, but homemade sliders can be surprisingly sturdy if made from quality materials. However, they may wear out faster under heavy use.
Convenience vs. Time Investment
DIY saves money but takes time. Commercial sliders are plug-and-play, making them more convenient for quick projects or professionals.
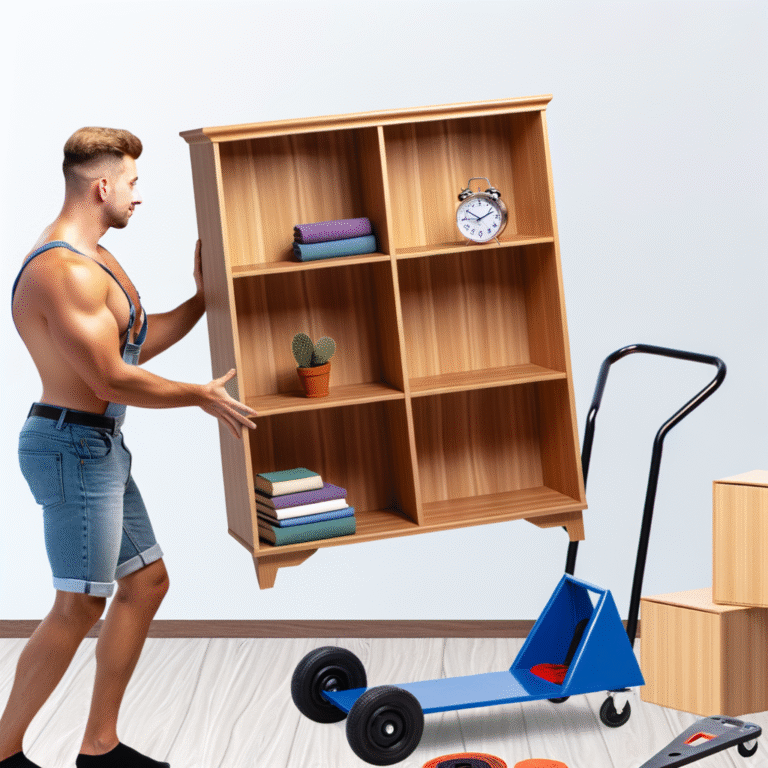
Real-Life DIY Slider Use Cases and Examples
Heavy Dresser on Hardwood
One user slid a 200-pound dresser across a hardwood floor using just damp towels under each leg—no scratches, no drama.
Couch Sliding Across Carpet
Reinforced Frisbees allowed another homeowner to move a large sectional sofa during spring cleaning without tearing up the carpet fibers.
Quick Fix for Renovations
During a floor renovation, felt and old cloth were drafted into service to protect expensive new floors when rearranging appliances.
Maintenance and Storage of DIY Sliders
After each use, clean your sliders thoroughly. Shake out towels, rinse plastic, and dry everything before storing.
Store your sliders in a clear bin, labeled for easy access. Keep them flat to preserve their shape.
Check for wear or compression. Replace any that have tears, cracks, or permanent dents to ensure continued effectiveness.
When to Invest in Commercial Sliders Instead
Consider professional-grade sliders if you’re moving precious antiques or designer furniture. They offer better grip and durability.
Need to frequently relocate items in your home or office? Commercial sliders will hold up longer under repeated stress.
For long-distance moves or heavy-duty projects, investing in purpose-built sliders can save time, energy, and frustration.
Conclusion
DIY furniture sliders are a simple, cost-friendly solution for moving heavy items safely and efficiently. With just a few everyday items, you can prevent back strain, save your floors, and tackle room reorganization on your own terms.
So, channel your inner handyman (or handywoman), and give DIY sliders a try—your back will thank you. As Bob Vila once said, “You’re only as good as your tools, even if those tools are homemade.”
Got your own DIY slider hack? Share it with fellow readers—we’d love to hear what works in your space!
“`
Related posts:
 Best Storage Containers for Apartment Moves: Our Top 10 Picks
 Navigating the Challenges of a Self-Moving Journey on a Tight Budget
 Americans Moving to Canada in 2025: Trends, Challenges, and Opportunities
 Tips for Your Move
 Navigating the Post-Move Landscape: Insights for Couples
 Top 7 Appliance Sliders for Moving Refrigerators and Washing Machines