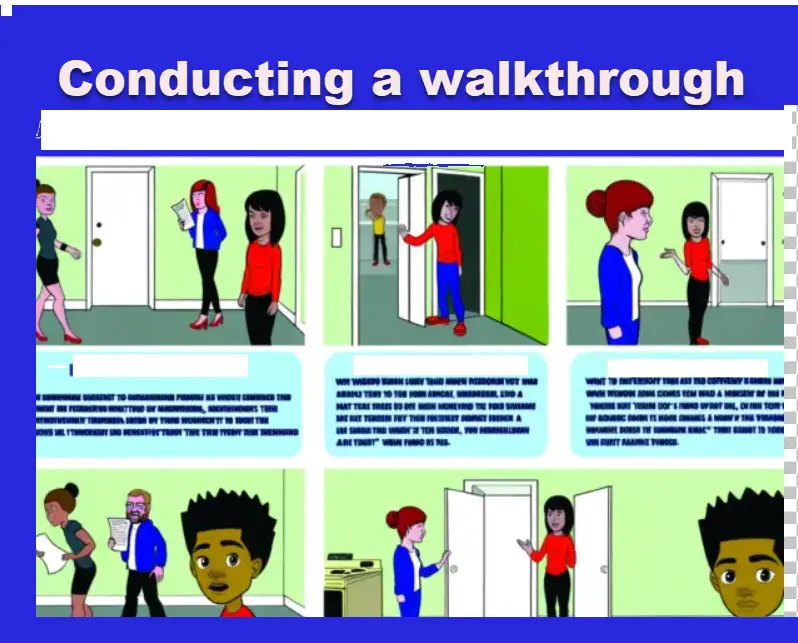
How to Conduct a Rental Property Walkthrough: Tips for Tenants
The walkthrough of a rental property is one of the most critical steps in the rental process. It is your opportunity to thoroughly examine the property’s condition, document any existing issues, and ensure the space is livable before you commit. A proper walkthrough protects your interests as a tenant and provides clarity for landlords regarding the property’s condition.
When and Why a Walkthrough Is Necessary
Before Moving In
A pre-move-in walkthrough ensures the property’s condition matches what was advertised and what you expect. This initial inspection establishes a baseline for the property’s condition that will be crucial when you eventually move out.
During Tenancy
Periodic ensuring your tenancy, periodic may be conducted during your maintenance issues and ensure lease compliance. These walkthroughs help identify problems before they worsen and maintain the property’s value.
Move-Out Inspection
The final walkthrough when vacating the property determines how much of your security deposit you’ll receive back. It compares the current condition to the state documented during your move-in walkthrough, accounting for normal wear and tear.
Preparing for the Walkthrough
Scheduling with Management
Coordinate with your landlord or property manager to find a suitable time when you can both be present. This ensures transparency and allows immediate discussion of any issues discovered.
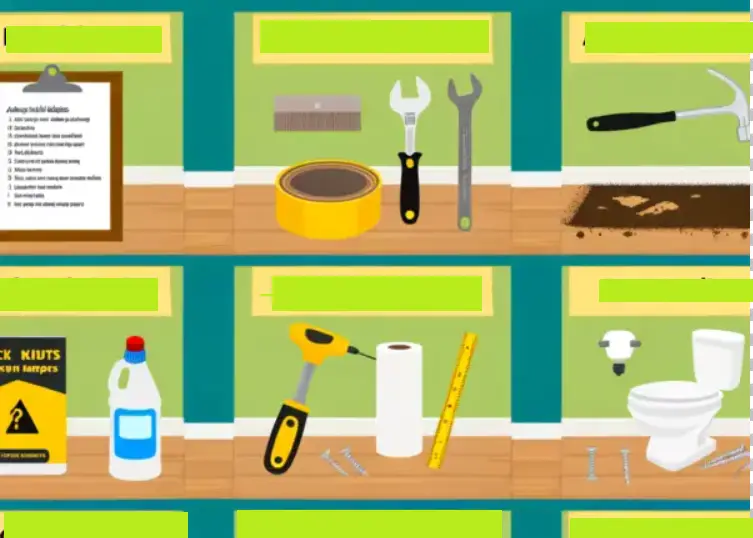
Essential Tools to Bring
- Notebook and pen for taking notes
- Camera or smartphone for photo/video documentation
- Detailed inspection checklist (many are available online)
- Flashlight for examining dark areas
- Measuring tape for confirming room dimensions
Understanding Your Lease
Review your lease agreement before the walkthrough, paying special attention to clauses about property conditions, conditioner responsibilities, and security deposit terms.
 What to Look for During the Walkthrough
Walls, Floors, and Ceilings
- Look for cracks, holes, stains, or water damage
- Check that the flooring is secure with no loose tiles or boards
- Examine carpeting for stains, tears, or excessive wear
- Inspect all painted surfaces for peeling, bubbling, or discoloration
Windows and Doors
- Ensure all locks and latches function properly
- Check for drafts, cracks, or broken seals
- Verify that windows open, close, and lock smoothly
- Test all doors for proper operation and security
Electrical and Plumbing Systems
- Test every light switch, outlet, and fixture
- Check all faucets for proper water flow and drainage
- Look under sinks for leaks or water damage
- Flush toilets to verify proper operation
- Locate circuit breakers or fuse boxes and ensure they’re accessible
Appliances
- Test all provided appliances (refrigerator, stove, dishwasher, etc.)
- Check for unusual noises, odors, or performance issues
- Verify all appliance components and accessories are present
- Document model and serial numbers for major appliances
Heating, Ventilation, and Air Conditioning
- Test heating and cooling systems for proper operation
- Inspect air filters for cleanliness
- Check thermostats for accurate functionality
- Verify proper ventilation in bathrooms and kitchen
Safety Features
- Test all smoke detectors and carbon monoxide alarms
- Locate fire extinguishers and check their expiration dates
- Verify that emergency exits are accessible and operational
- Check for proper outdoor lighting around entryways
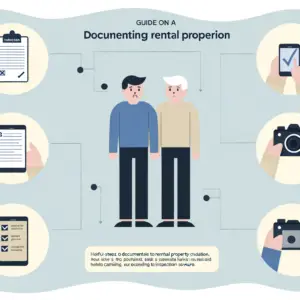
Documenting the Condition of the Property
Thorough documentation is perhaps the most crucial aspect of the walkthrough process. It creates an indisputable record of the property’s condition that can prevent disputes later.
Visual Documentation
Take clear, well-lit photos and videos of each room, focusing on:
- All walls, floors, and ceiling surfaces
- Close-ups of any existing damage or wear
- All appliances, fixtures, and hardware
- Exterior areas, including patios, balconies, and parking spaces
Written Documentation
Use a detailed condition report or checklist to record your observations. Be specific about the location and extent of any issues. Most landlords provide move-in inspection forms but consider creating your oersion if theirs lacks thoroughness.
Date and Sign Everything
Ensure all documentation is dated and signed by both you and the landlord or property manager. Request a copy of all signed documents for your records.
 Discussing and Addressing Issues with the Landlord
Professional Communication
When raising concerns about property conditions:
- Maintain a professional, solution-oriented approach
- Be specific about issues rather than making general complaints
- Prioritize safety and habitability concerns
- Reference relevant lease clauses or local housing codes when applicable
Requesting Repairs
For issues that require attention before moving in:
- Identify what needs to be fixed
- Establish a timeline for completion
- Consider delaying lease signing until critical repairs are completed
Getting Agreements in Writing
Verbal agreements about repairs or improvements have little value if disputes arise later. Request written confirmation of:
- What repairs will be made
- When they will be completed
- Any compensation or rent adjustments if repairs are delayed
Move-Out Walkthrough Best Practices
Pre-Inspection Preparation
Before your final walkthrough:
- Clean the unit thoroughly according to lease requirements
- Remove all personal belongings
- Make minor repairs as appropriate (fill nail holes, replace burnt-out bulbs)
- Take photos of the cleaned, empty unit for your records
Comparative Assessment
During the move-out inspection:
- Reference your move-in documentation to compare conditions
- Distinguish between normal wear and tear (which shouldn’t be charged) and actual damage
- Walk through the property with the landlord if possible
- Document the final condition just as thoroughly as during move-in
Finalizing the Process
- Return all keys and access devices
- Provide a forwarding address for your security deposit
- Record final utility meter readings as applicable
- Request a signed copy of the final inspection report
Common Mistakes to Avoid
Inadequate Documentation
Failing to take detailed photos or videos, especially of pre-existing damage, can lead to disputes over security deposit deductions.
Overlooking Small Details
Minor issues like leaky faucets, loose handles, or small cracks might seem insignificant but can lead to larger problems or unexpected charges later.
Ignoring Lease Terms
Not understanding your responsibilities as outlined in the lease can result in misunderstandings about what constitutes an acceptable property condition.
Relying on Verbal Promises
Accepting a landlord’s verbal assurances about repairs or improvements without written confirmation often leads to unfulfilled expectations.
Rushing the Process
A thorough walkthrough takes time. Rushing through it increases the likelihood of missing important details that could affect your tenancy or security deposit.
Conclusion
A proper rental property walkthrough is your first line of defense as a tenant. By carefully documenting conditions, communicating professionally with your landlord, and understanding your rights and responsibilities, you can ensure a smooth tenancy from move-in to move-out.
Remember that the time invested in a thorough walkthrough can save you significant money and stress later. The documentation you create serves as valuable evidence should any disputes arise, and it sets clear expectations for both you and your landlord throughout your tenancy.
By following these guidelines, you’ll be well-equipped to protect your interests while maintaining a positive landlord-tenant relationship—a win-win situation for everyone involved.
Related posts:
 Understanding Your Rights: Security Deposit Laws by State
 Top Tips for Documenting Rental Property Condition
 Best Equipment for Documenting Rental Property Condition: Reviews and Comparison
 How to Document Rental Property Condition
 The Ultimate Guide to Rental Property Move-Out Notices
 Common Rental Deposit Deductions and How to Avoid Them