
Moving Outdoor Furniture: Protecting It from Weather and Transport Damage
Moving Outdoor Furniture in 2025? Here’s How to Protect It Like a Pro
Planning a move and staring at your patio furniture wondering how you’re going to get it to your new home safely? You’re not alone—and trusting fate to protect expensive outdoor sets is a gamble you don’t want to take.
Between unpredictable weather, rough bumpy roads, and careless handling, your outdoor dining set or wicker loveseat might arrive scratched, soaked, or worse—ruined.
If you’re transporting outdoor furniture this year, you’ll need a foolproof strategy to defend it from the elements and moving damage.
From smart wrapping techniques to thoughtful truck loading, here’s exactly how to protect your investment every step of the way.
Step 1: Assess and Prepare Your Outdoor Furniture
Begin with a full inventory. Make a checklist of each piece—tables, chairs, loungers, cushions, umbrellas. This will help track what’s being moved and ensure nothing goes missing in the chaos of the transition.
Next, identify each item’s material. Whether it’s wood, aluminum, resin, plastic, or wicker, each responds differently to moisture and handling. For instance, treated wood requires different wrapping than metal, which might rust if not sealed properly.
Before anything gets boxed up, inspect furniture for cracks, rust spots, or broken hinges. Quick repairs now prevent worsening damage. Then, give each piece a thorough clean. Remove dirt, pollen, and spider nests from crevices. Mold and mildew are transport nightmares—always let furniture dry completely after washing.
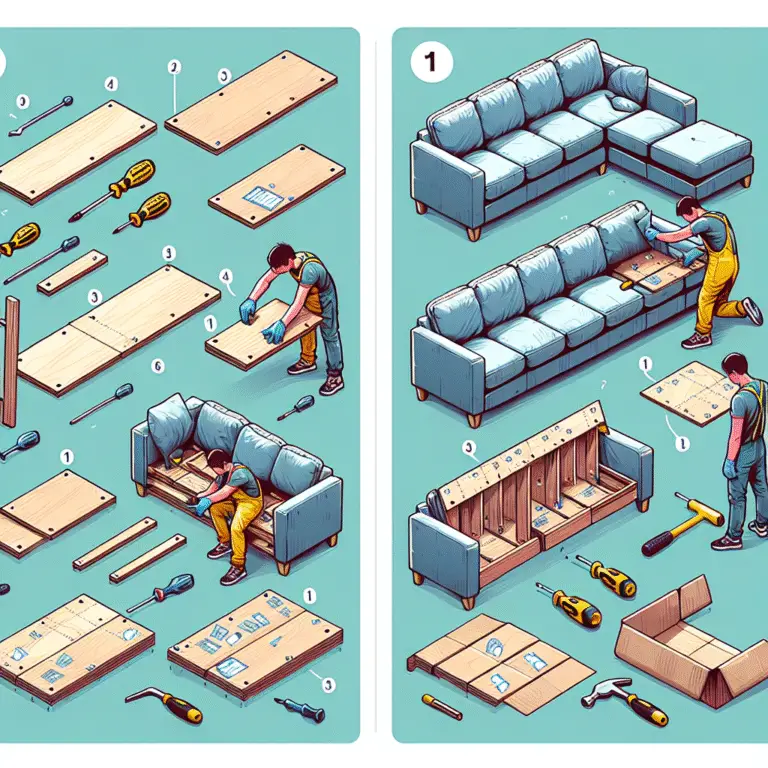
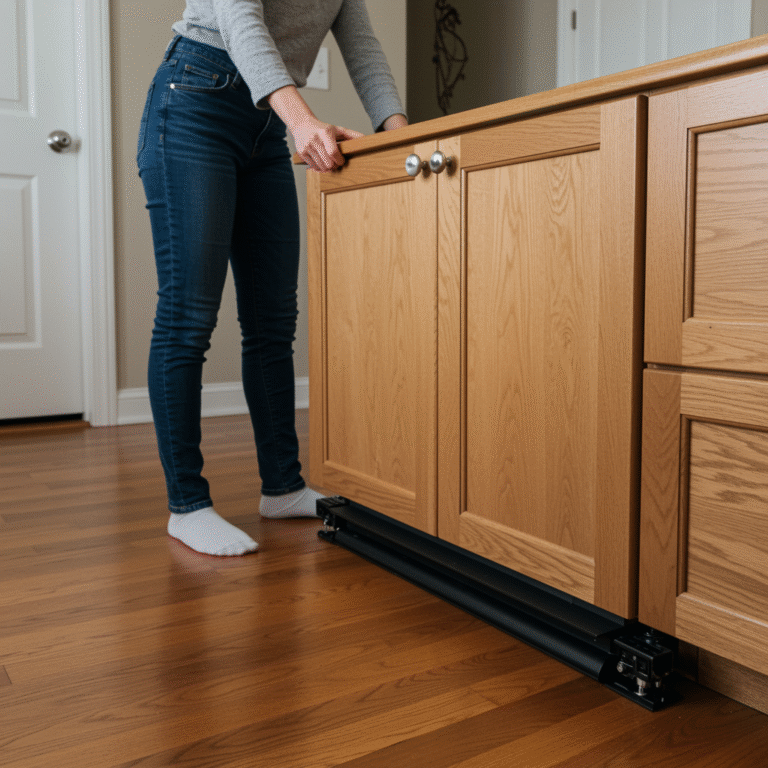
Step 2: Disassemble What You Can
Lugging an entire assembled table through a doorway is a great way to scuff walls and bust legs. Disassemble wherever possible—think detachable cushions, table legs, umbrella poles, and reclining seats.
Keep tools handy: screwdrivers, Allen wrenches, pliers. Stay organized by storing all small parts like nuts, bolts, and screws in labeled plastic bags. Tape the bags securely to the matching furniture piece or put them in a clearly marked box. You’ll thank yourself during reassembly.
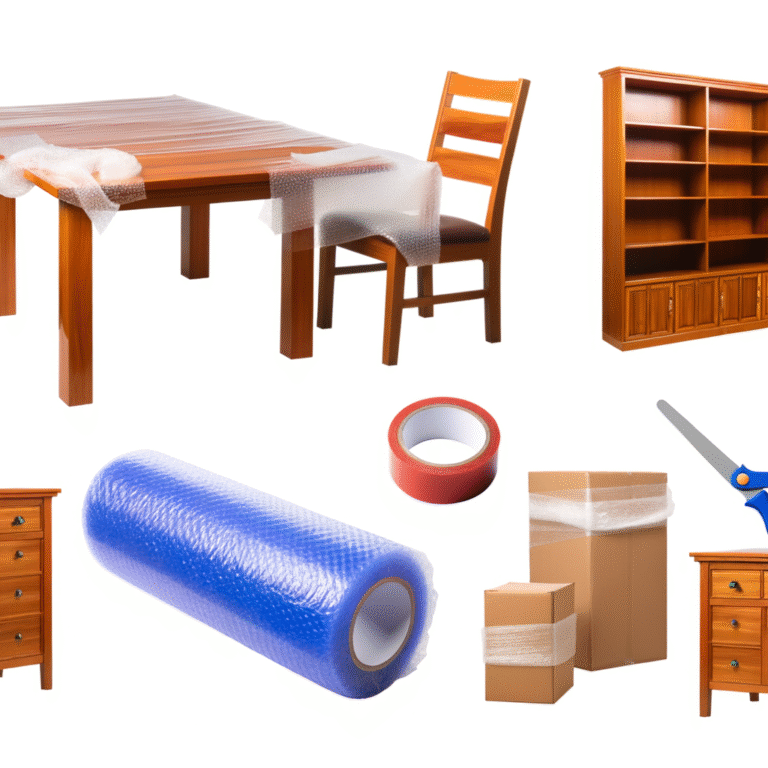
Step 3: Wrap It Like You Mean It
The way you pack is the difference between pristine and damaged. Use moving blankets or padded furniture covers to wrap large pieces. Secure it with moving straps or plastic wrap to hold the padding in place.
For delicate parts or metal edges that could dent or chip, bubble wrap and foam are must-haves. If you’re protecting wood, don’t shrink-wrap it directly—this can trap moisture and cause swelling. Instead, use a breathable layer (like blankets), then plastic if extra waterproofing is needed.
Glass tabletops? Wrap them in bubble wrap, secure with tape, and sandwich between padded blankets. Never place glass at the bottom of the stack in a moving truck.
Step 4: Pack Outdoor Cushions and Fabrics the Smart Way
Cushions are often forgotten until they show up musty and misshapen at your new house. Start by vacuuming and cleaning each cushion. Let them air dry completely—even a little moisture can become moldy if sealed tight.
Vacuum-seal bags are ideal for packing bulky cushions and keeping out moisture. Alternatively, large plastic bins with lids can be an excellent waterproof solution. Label each bag or bin by the corresponding furniture set to avoid mix-ups.
Step 5: Prepare for Weather on Moving Day
Even in 2025, weather forecasts still get it wrong—so always prepare for rain or humidity on moving day. Check the forecast early and frequently. Have tarps or temporary covers ready to shield items outside during loading.
To prevent puddles or mud damage, stack furniture on wooden blocks or pallets to keep it off the ground. Tarps aren’t just for coverage—use them as a barrier under stacks of furniture in your truck to reduce moisture exposure.
According to The National Association of Professional Organizers, “Proper planning and protective materials are essential for damage-free relocation, especially when weather conditions are unpredictable.”
Step 6: Load the Truck Strategically
When it’s finally time to pack the truck, logic beats speed. Load heavy outdoor items first, toward the front—or cab—of the moving truck. Place lighter items on top to avoid crushing.
Secure each piece to the sides using ratchet straps or ropes to prevent shifting. Movement is the enemy here. Try to avoid pressure on delicate parts—nothing should be pressing hard on tabletops or thin chair legs during the ride.
Doing it yourself? Take your time. Professionals? Supervise so your specific instructions for fragile items are followed.
Step 7: Unload and Reassemble Thoughtfully
Now comes the exciting part—arriving at your new place! Carefully unload each item and check for any damage immediately. Look for signs of water exposure, warping, scratches, or dents. Noticing it early gives you time to file insurance claims or address repairs.
Before reassembly, wipe down each piece if it’s collected dust or condensation. This is the perfect chance to clean your furniture again before giving it a fresh placement in your new outdoor setup.
Bonus Tips for a Flawless Move
Think your outdoor furniture isn’t worth extra care? Think again. For high-value patio sets, consider purchasing moving insurance to cover unforeseen damages—especially if you’ve invested thousands into your backyard retreat.
Eco-conscious movers can opt for recyclable or reusable materials like biodegradable wraps or reusable bins instead of disposable plastic wrap.
Not unpacking everything right away? Store furniture in a climate-controlled unit to prevent mold, rust, or warping. Avoid storing directly on concrete floors and keep items elevated and covered.
Wrap-Up: Secure Your Furniture, Secure Your Peace
Moving outdoor furniture is about more than just tossing it into a truck. It’s about preserving the beauty, comfort, and value that your patio or yard space brings to daily life. Taking the proper steps—disassembling, wrapping, waterproofing, and securing—pays off in pristine furniture that looks as good at your new house as it did at your old one.
Don’t let rain, bumps, or forgetting the screws ruin your move. Give your outdoor furniture the protection it deserves. After all, it’s not just furniture—it’s part of your home.
Related posts:
 Best Storage Containers for Apartment Moves: Our Top 10 Picks
 Navigating the Challenges of a Self-Moving Journey on a Tight Budget
 Americans Moving to Canada in 2025: Trends, Challenges, and Opportunities
 Tips for Your Move
 Navigating the Post-Move Landscape: Insights for Couples
 Review: Top 6 Furniture Packing Kits for a Damage-Free Move