Preparing Major Appliances for a Move: Disconnection Guide
Moving is stressful enough. Toss in the task of disconnecting major household appliances, and suddenly it’s a whole new level of chaos. But skip just one crucial disconnection step, and you could end up with a flooded truck, a gas leak, or a broken appliance that costs hundreds to fix. If you’re planning a move in 2025, consider this your ultimate disconnection guide for major appliances—saving your sanity, your safety, and your bank account.
Skipping the proper preparation when moving appliances doesn’t just risk damaging your expensive equipment. It can also pose serious safety risks like electrical shocks, gas leaks, and water damage. This guide walks you through step-by-step instructions for disconnecting the most common large appliances safely and efficiently—whether they’re in your kitchen, laundry room, or elsewhere around the house.
General Safety Precautions Before Disconnecting Appliances
Before reaching for any tool, familiarize yourself with each appliance’s manual. Manufacturers often include disconnection procedures or warnings specific to their design. Ignoring these directions could void warranties or damage delicate components.
Next, cut off all related utilities. That means switching off circuit breakers for electric appliances, shutting off the main gas line for gas-operated units, and turning the water valve for anything that uses H₂O. Skipping this step is not only dangerous—it’s negligent.
Gather tools like wrenches, screwdrivers, buckets, and towels. You may also need protective gloves or safety goggles depending on the appliance. Make sure you’re equipped before diving into any disconnections.
How to Disconnect Major Kitchen Appliances
Refrigerator and Freezer
Start by unplugging the unit at least 24 hours before moving day. Empty all contents and begin defrosting to prevent water leaks. If your fridge has a water line for an ice maker, shut off the water supply and disconnect the line carefully using a wrench.
Don’t forget to clean and dry the entire interior, including drawers and trays. Mold and mildew can develop quickly in a damp, enclosed space. Secure the power cord and tape it to the back for safe transport.
Gas or Electric Oven/Range
Gas ranges require extreme caution. Begin by shutting off the gas at the main valve. Use an adjustable wrench to disconnect the gas line, then cap the pipe to prevent leaks.
For electric ovens, simply unplug them, but make sure the oven has completely cooled. Remove all detachable parts and clean surfaces. According to the U.S. Consumer Product Safety Commission, “Improper gas disconnection is a leading cause of household gas leaks during moving and construction projects,” so don’t take any chances—call a pro if uncertain.
Dishwasher
Start by cutting power at the breaker and also switch off the water supply. Disconnect both the water inlet and drain hoses carefully and be ready with a bucket or towel to catch residual water.
After disconnecting, thoroughly clean the interior and leave the door ajar to air out moisture. Make sure all hoses are properly labeled and packed.
Microwave
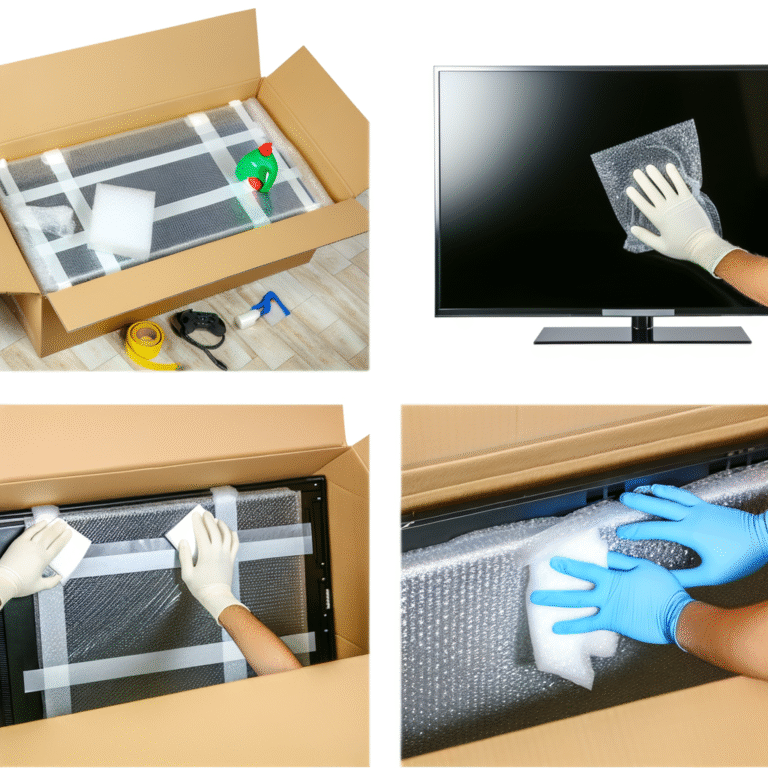
Unplug and remove any removable components like the glass turntable—it should be packed separately with padding. Wipe down all surfaces, then tape the door shut or use stretch wrap to keep it from swinging open during the move.
How to Disconnect Laundry Appliances
Washing Machine
Cut the power and shut off both hot and cold water valves. Disconnect the water hoses, draining them into a bucket to avoid water pooling on your floor.
Make use of shipping bolts that originally came with your washer to secure the drum—this prevents internal damage while moving. Finish by cleaning and drying the interior and coils.
Dryer (Electric and Gas)
For electric models, simply unplug the unit. For gas dryers, turn off the gas valve and carefully disconnect the gas line. Cap it immediately to prevent any leaks.
Remove the exhaust vent hose and clean out any accumulated lint. This is not just good practice—it’s critical for fire prevention.
How to Disconnect Other Common Household Appliances
Water Heater
Turn off the electricity or gas line powering your unit. Shut off the cold water intake and open the drain valve to empty the tank.
You’ll need a garden hose to route the water to a floor drain or outside. Once empty, disconnect any remaining pipes and secure them to the unit with tape or zip bags.
Air Conditioning Units
For window units, unplug and drain any condensation. Remove and clean or replace the filter. It’s smart to do this now, so your AC is ready to go once reinstalled.
For central air systems, always call a licensed HVAC technician. These systems involve refrigerants and complex wiring—definitely not a DIY job.
Garbage Disposal
First, cut power to the unit at the breaker box. Then, disconnect the plumbing and electrical wiring. Take your time cleaning the unit thoroughly, and be cautious—blades and sharp edges can cause injury.
Labeling and Organizing for the Move
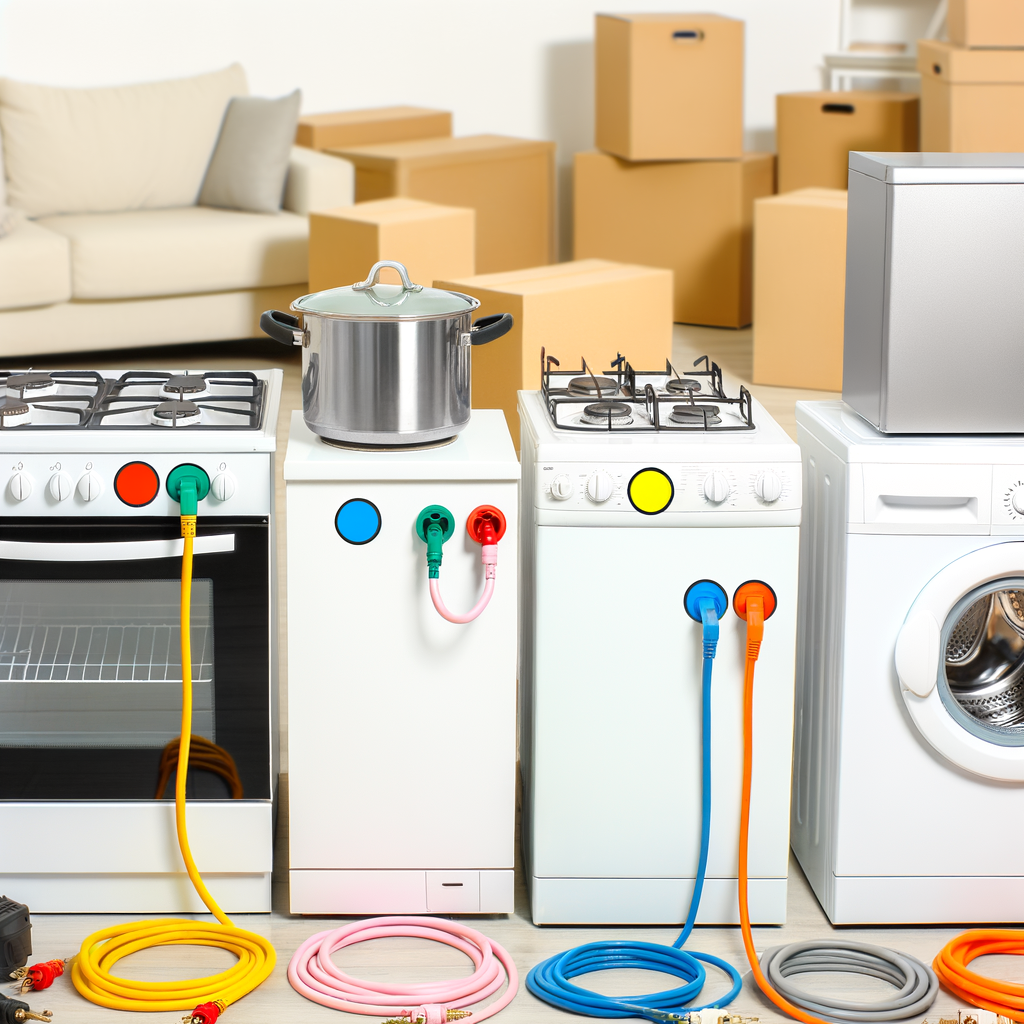
Once parts and cords are detached, label everything. Use painter’s tape and a permanent marker to tag cables, hoses, and small components.
Put all loose parts in zip-top bags and tape them directly to the appliance they belong to. This makes reinstallation exponentially easier. Keep an inventory list so nothing goes missing during the chaos of moving day.
When to Hire a Professional
Some jobs just shouldn’t be DIY. Disconnection of gas appliances is one of them. Even a slight mishandling can lead to dangerous leaks or explosions.
If your appliance is hardwired (like built-in ovens or certain water heaters), hire a licensed technician. These units require electrical knowledge and equipment the average DIY’er doesn’t typically possess.
Also consider professional help for high-value appliances like built-in fridges or antique gas ranges. Damaging these could cost more than the professional service fee.
Final Tips for a Smooth Appliance Move
After cleaning, allow your appliances to dry completely—this step prevents mold and trapped moisture when they’re stored or transported. Use moving blankets, padding, and straps to secure them during transit.
Reconnecting your appliances at the new place? Just reverse the disassembly steps, using your notes and labels for guidance. Lastly, review any warranties to see if relocating voids coverage—some brands are particular about self-moved items.
Conclusion
Disconnecting appliances for a move isn’t just about yanking a plug and walking away. It’s a detailed, delicate process that can protect your safety, extend the life of your equipment, and make reinstallation a breeze.
Taking time to follow proper safety protocols and disconnection procedures ensures your big move doesn’t come with even bigger problems. Create a checklist, stay organized, and when in doubt, call in the pros—your appliances (and future self) will thank you.
Related posts:
 Best Storage Containers for Apartment Moves: Our Top 10 Picks
 The Moving Checklist That Actually Works
 Navigating the Challenges of a Self-Moving Journey on a Tight Budget
 Americans Moving to Canada in 2025: Trends, Challenges, and Opportunities
 Moving Washing Machines and Dryers: A Complete Preparation Guide
 Tips for Your Move